Here is a really quick, fun way to wear a little bit of Fall! These 2-1/2 inch pins (acorns, above; pumpkins, below) are wet felted, then attached to the pins with a jump ring and a little bit of embroidery floss. Don't be fooled by how large these look on the jewelry mannequin stand! For the step-by-step directions, keep reading!
For the pumpkin pins, first take a little bit of orange roving and an even smaller amount of green roving. Put the roving in the palm of your hand, keeping the green toward one end. Add a bit of dishwashing detergent and let hot running water thoroughly soak it. Vigorously rub the roving in between the palms of your hands until it forms a solid ball. You'll notice the green will want to stay on the end, just as it should. I guess it knows its place! If you'd rather make the acorn pins, do the same thing, only use shades of brown/gold roving. Use a darker roving for the acorn cap, just as you used the green roving for the pumpkin's top.
After you have the little balls, let them dry. For the acorns, shape them a little bit at the bottom end so they are not quite so round.
Once they are dry, you'll need a bit of Number 3 perle embroidery floss in the color you want (or you could just use a double-length of thread), an embroidery needle and a pair of needle-nosed pliers. You'll also need your kilt pin. I bought mine from an eBay seller. You could also just use a safety pin. I also bought a bag of jump rings from Michaels. First, I used the pliers to attach the jump ring to the ring on the pin. If you are using a safety pin, just attach the jump ring anywhere on the pin.
THEN, thread your embroidery needle and make a knot in one end. Run the needle and thread all the way through the pumpkin or the acorn, from bottom to top. You'll need your pliers to grasp the needle as it emerges at the top. Pull it out, letting the knot catch at the bottom.
NOW, pull the needle and thread through the jump ring and back into the pumpkin (or acorn), this time from the top down. Pull the needle out at the bottom (again, using the pliers to help). Run it back through again from bottom to top, and again put it through the jump ring. Come back down and pull it out the bottom and, this time, go ahead and trim the floss as close to the bottom as possible. For the acorn, I leave a little bit of floss at the end, beyond my knot, so that it looks like the little point on an acorn. I trim it a little closer on the pumpkin, but the knot looks like the bottom of a pumpkin, so it fits right in!
Here are some real acorns (very small) and one of my felted ones.
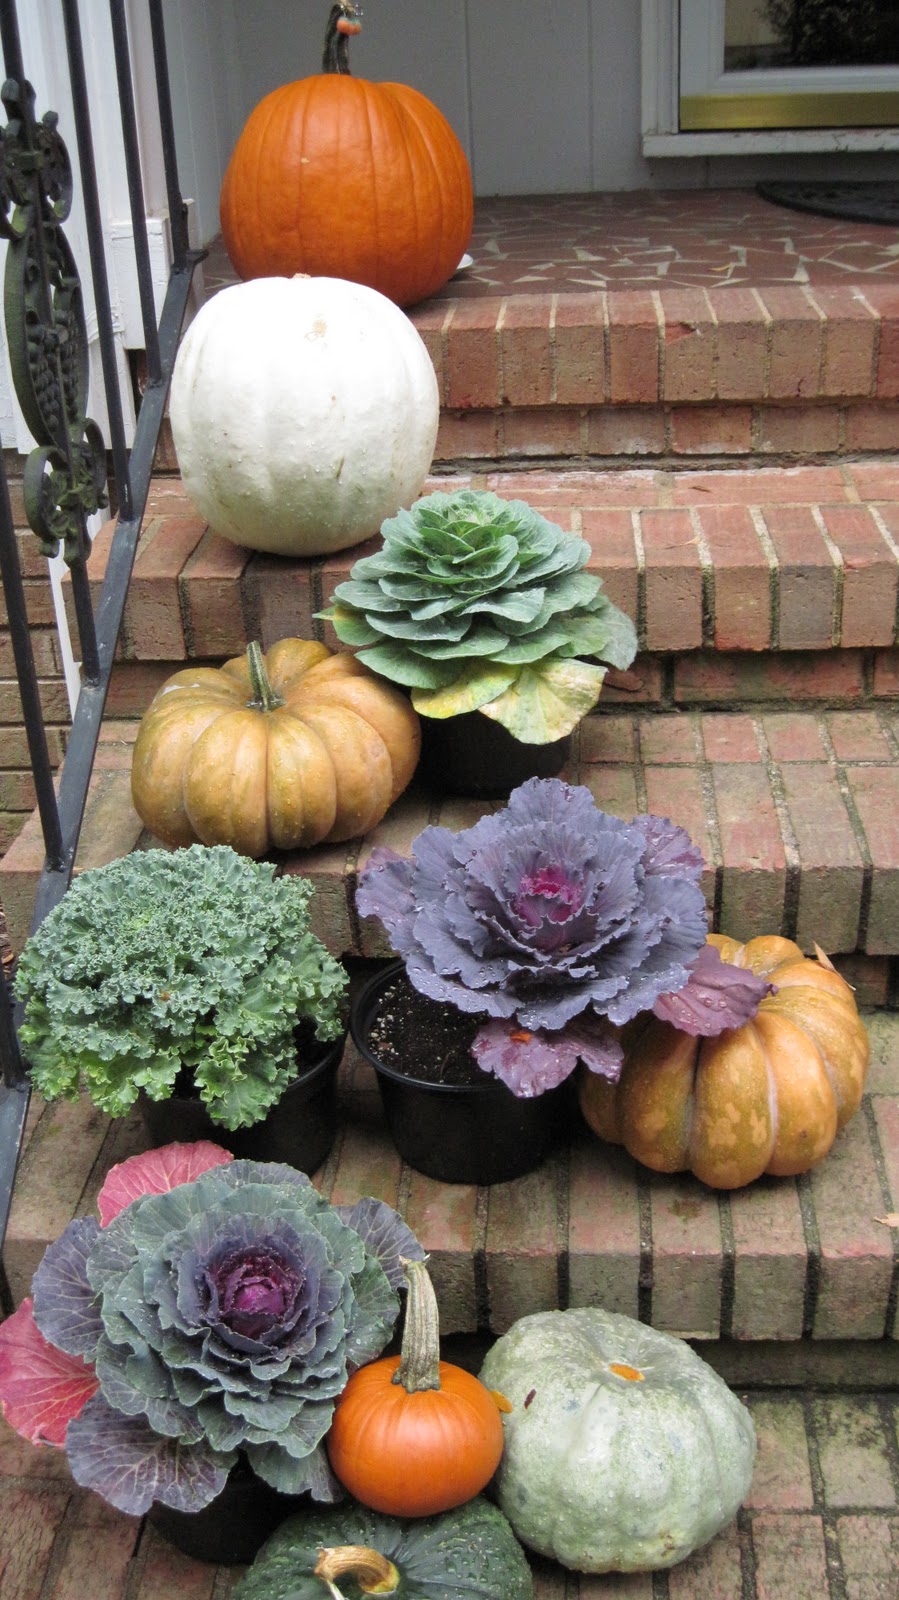
Did anybody catch the cover of Southern Living this month? I love the display of pumpkins and cabbage and kale! So here's my mini version.
Aren't the colors wonderful? I also like the variety of pumpkins you can get at the grocery store these days.
Enjoy! If you need any help with the pins, just jot me an
email.


2 comments:
These are soooo cute. You are so multi-talented. Bev
love the fall pins! You are so creative!
Post a Comment